How to Effortlessly Connect Your Blink Wallet to Zaprite for Business
Learn how to connect your Blink Wallet to Zaprite and start accepting Lightning payments instantly with a no-code, customizable checkout solution.
July 22, 2025
Author
Destiny
Follow us
Accept Lightning Network Payments Directly, Seamlessly Integrate with Zaprite's Comprehensive Commerce Tools, and Streamline Your Business Operations.
We’re excited to introduce a powerful integration that allows businesses to seamlessly accept Bitcoin payments: the connection between Blink Wallet and Zaprite. This integration streamlines operations and expands your payment options, making it easier than ever to accept bitcoin payments for your business.
P.S.Zaprite offers a free 30-day trial. After that, a subscription (currently $25/month) is required to continue using the platform.
Why This Integration is a Game-Changer for Your Business
Direct Payments, No Intermediaries: One of the key advantages of connecting your Blink wallet to Zaprite is that payments are routed directly to your Blink account ensuring fast, efficient access to your funds.
Comprehensive Commerce Tools Integration: Once connected, your Blink Lightning Address can be used across Zaprite’s full suite of tools, including Event Tickets, Invoices, Payment Links, the API, Virtual POS Terminals, and more. This allows you to seamlessly integrate Bitcoin Lightning payments into nearly every part of your sales process.
Effortless Setup and Customization: Zaprite offers a no-code setup that helps you get up and running in minutes. Its customizable Checkouts let you tailor the payment experience to match your brand, no technical skills required.
Flexibility: Fiat and Lightning Side-by-Side: This integration lets you accept Lightning and Fiat payments through Zaprite’s hosted Checkouts, giving your customers the flexibility to pay with their preferred method.
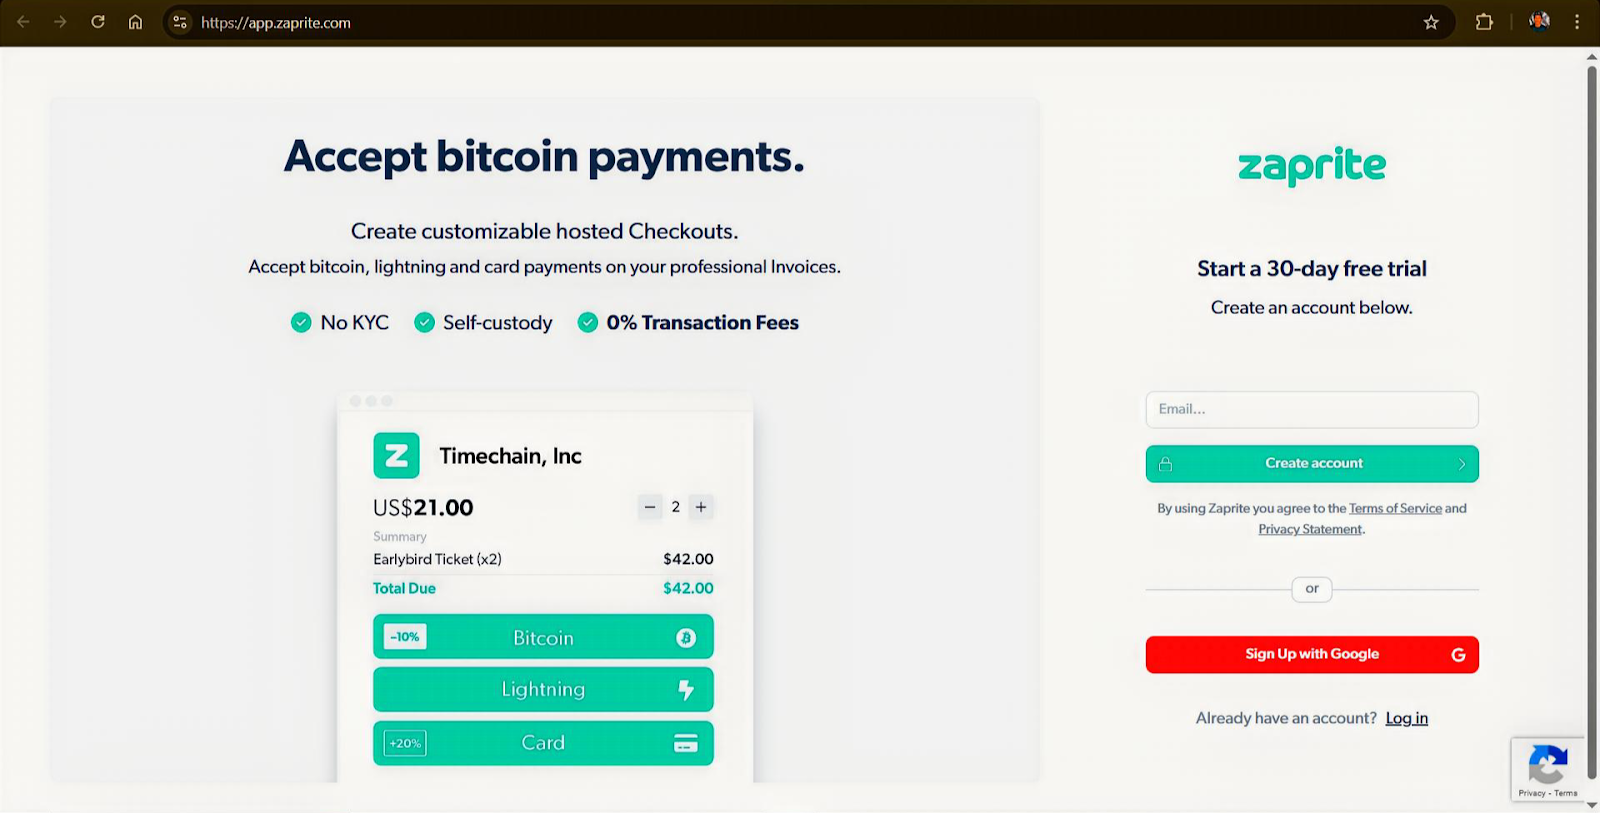
Simple Way to Accept Bitcoin: Zaprite makes it simple to start accepting Bitcoin payments for your business. New users get a free 30-day trial, no credit card needed, just an email. To get started with Blink Wallet, visit their website.
Step-by-Step Guide to Connecting Your Blink Wallet to Zaprite
Connecting your Blink wallet to Zaprite is quick and easy. All you need is your Blink Lightning Address (No API-Key needed, thanks to LNURL LUD21 integration in Blink!). Just follow these three steps to start accepting Lightning payments through your Blink Lightning Address:
Step 1: Activate Blink Payments
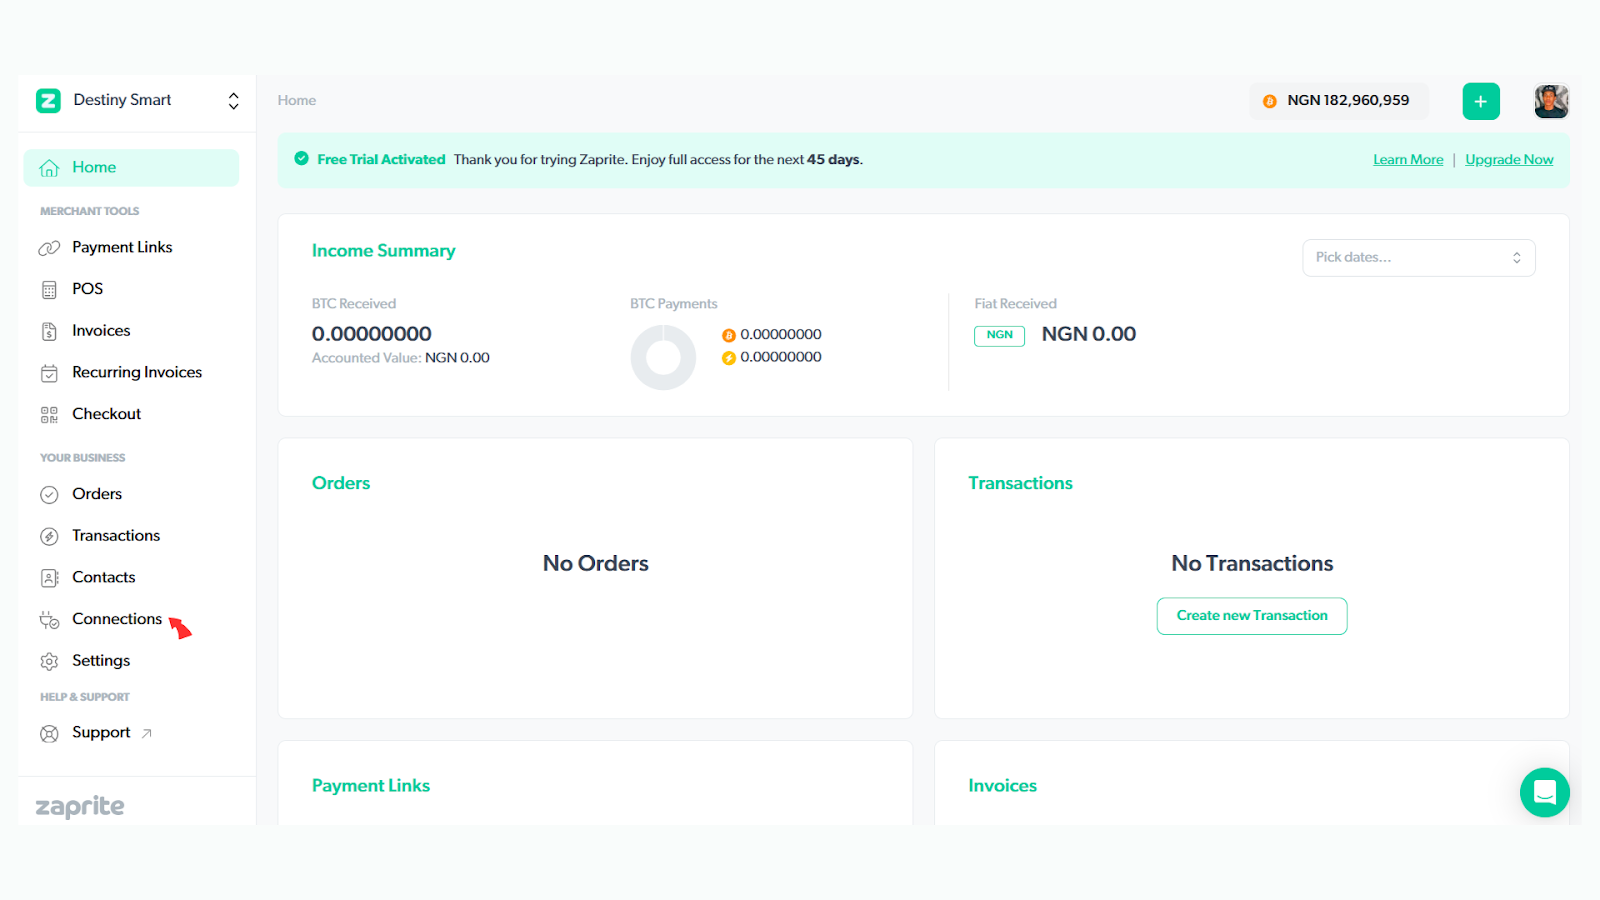
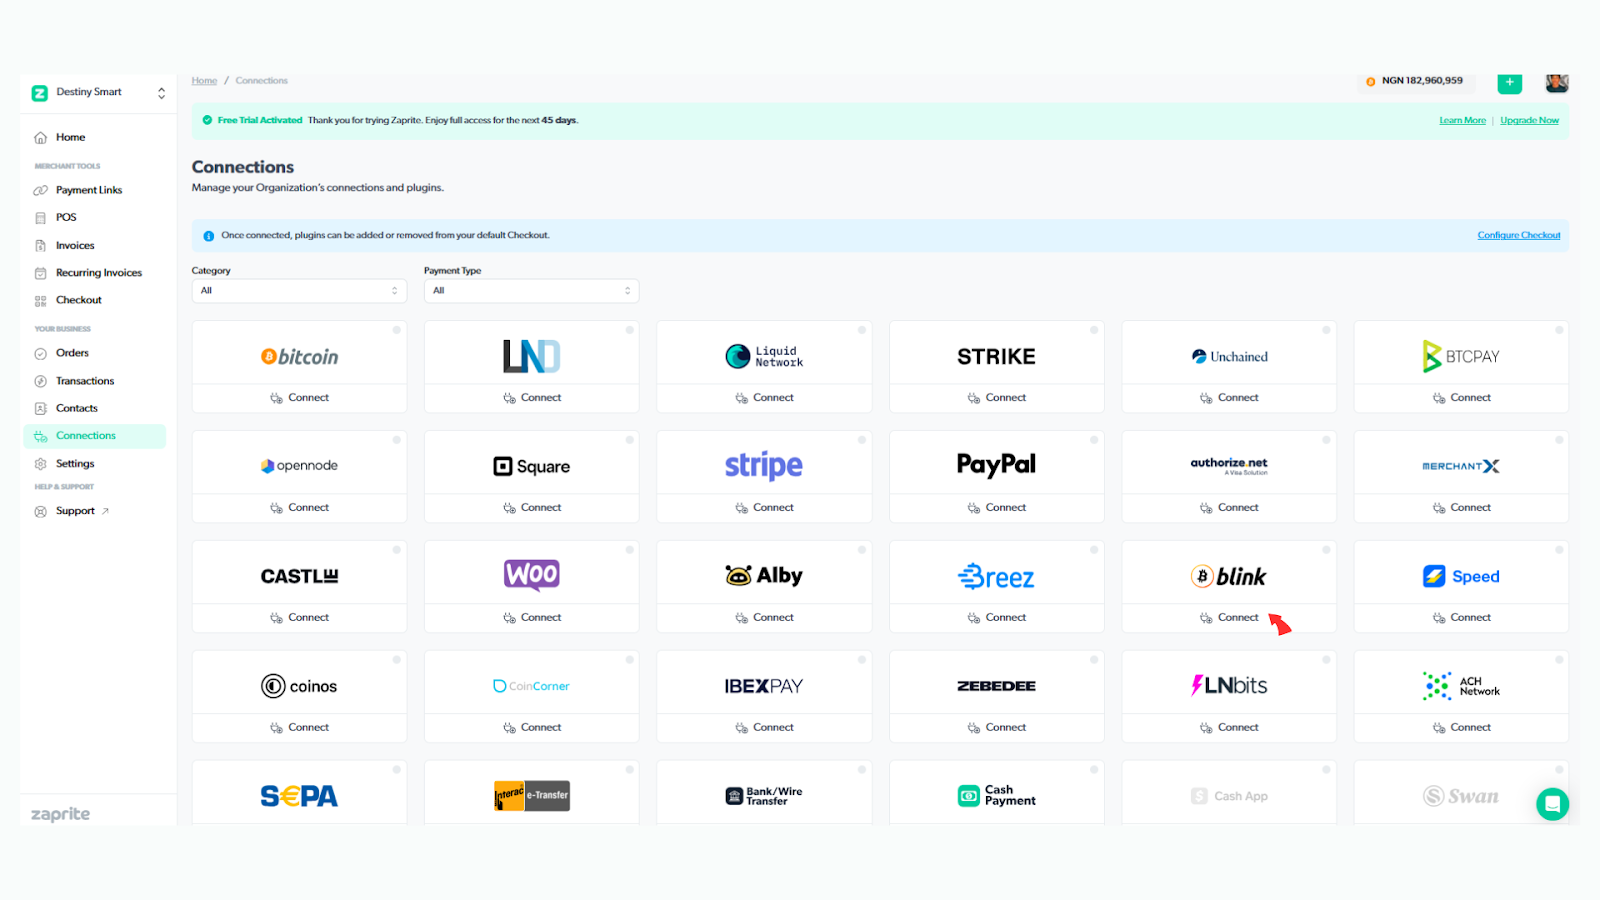
Create your Zaprite account and connect your Blink wallet.
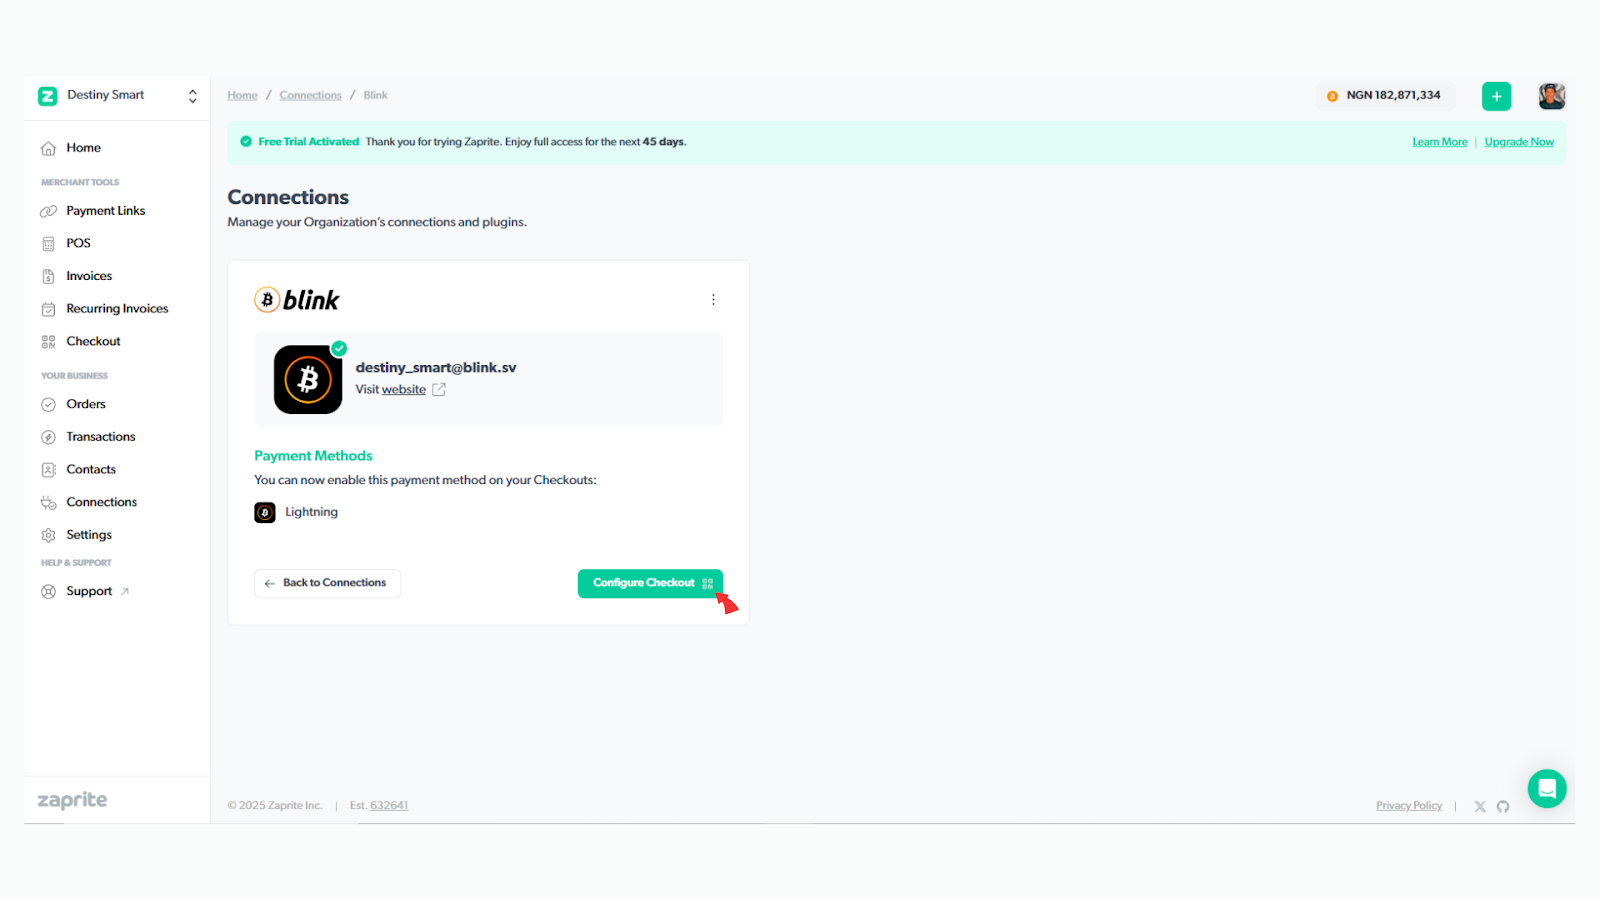
Locate the Blink card and click the ‘Connect’ link underneath it.
Upon activation, you will be automatically directed to the ‘Settings’ screen to configure your connection.
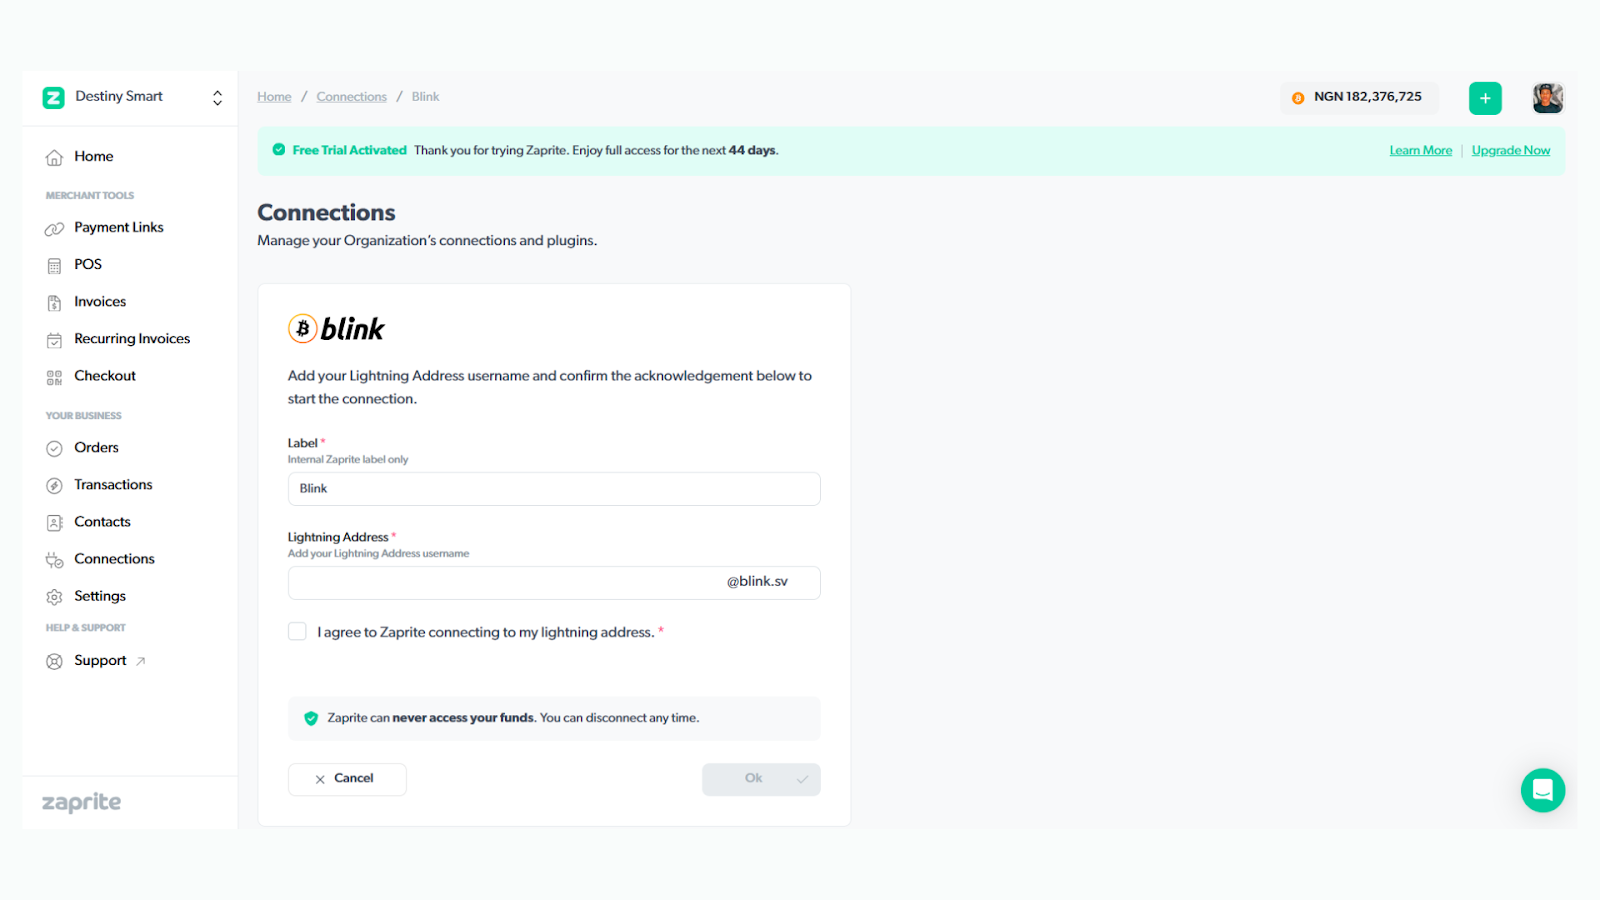
Step 2: Configure Your Connection
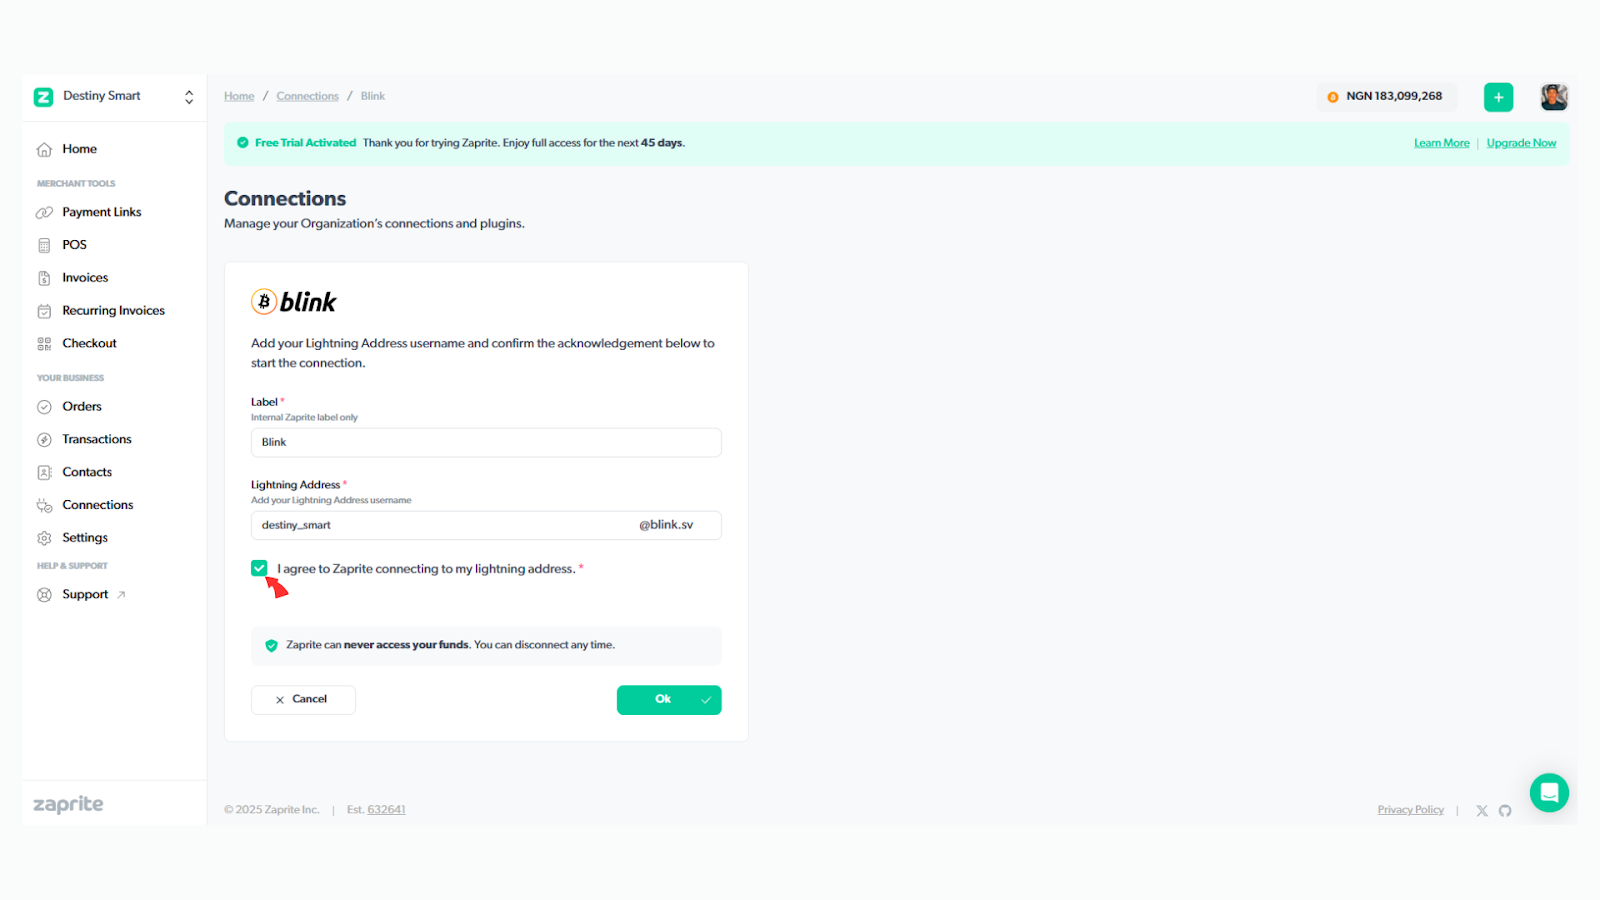
When entering your Lightning Address in Zaprite, only enter your username (leave out “@blink.sv”).
Enter your Blink username (without “@blink.sv”).
To find your Blink Address, tap “Receive” in your Blink wallet.
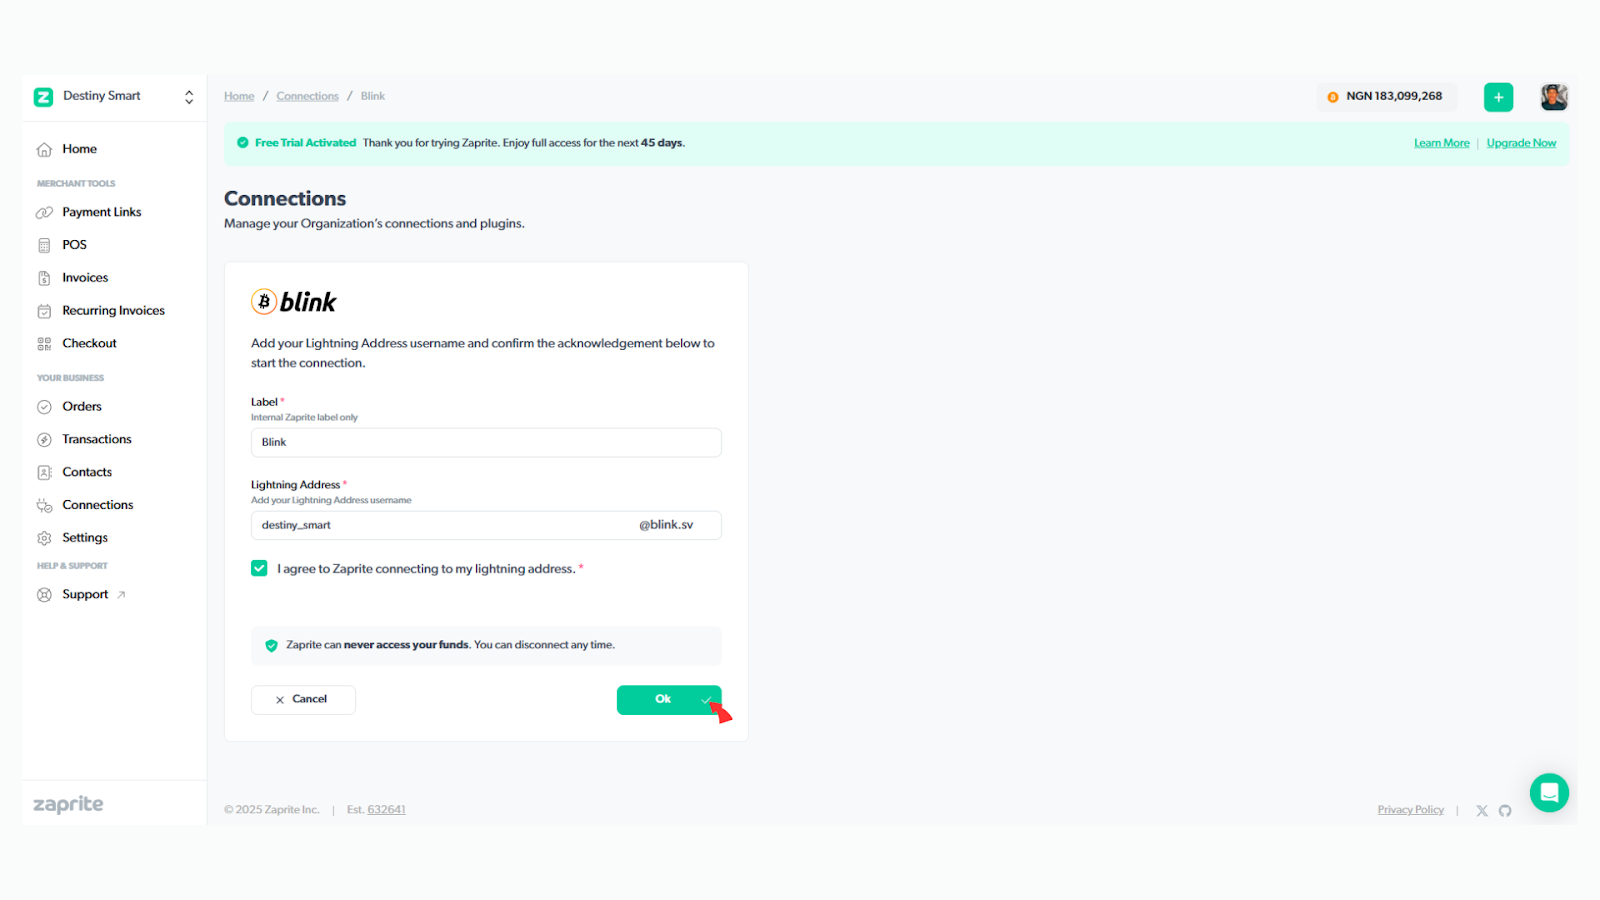
Add your Blink Lightning Address to your “connection" and check the box to agree to the terms.
Finally, click [OK]
Security Assurance: Your Blink connection is used only to generate invoices. Zaprite can’t access or spend your funds.
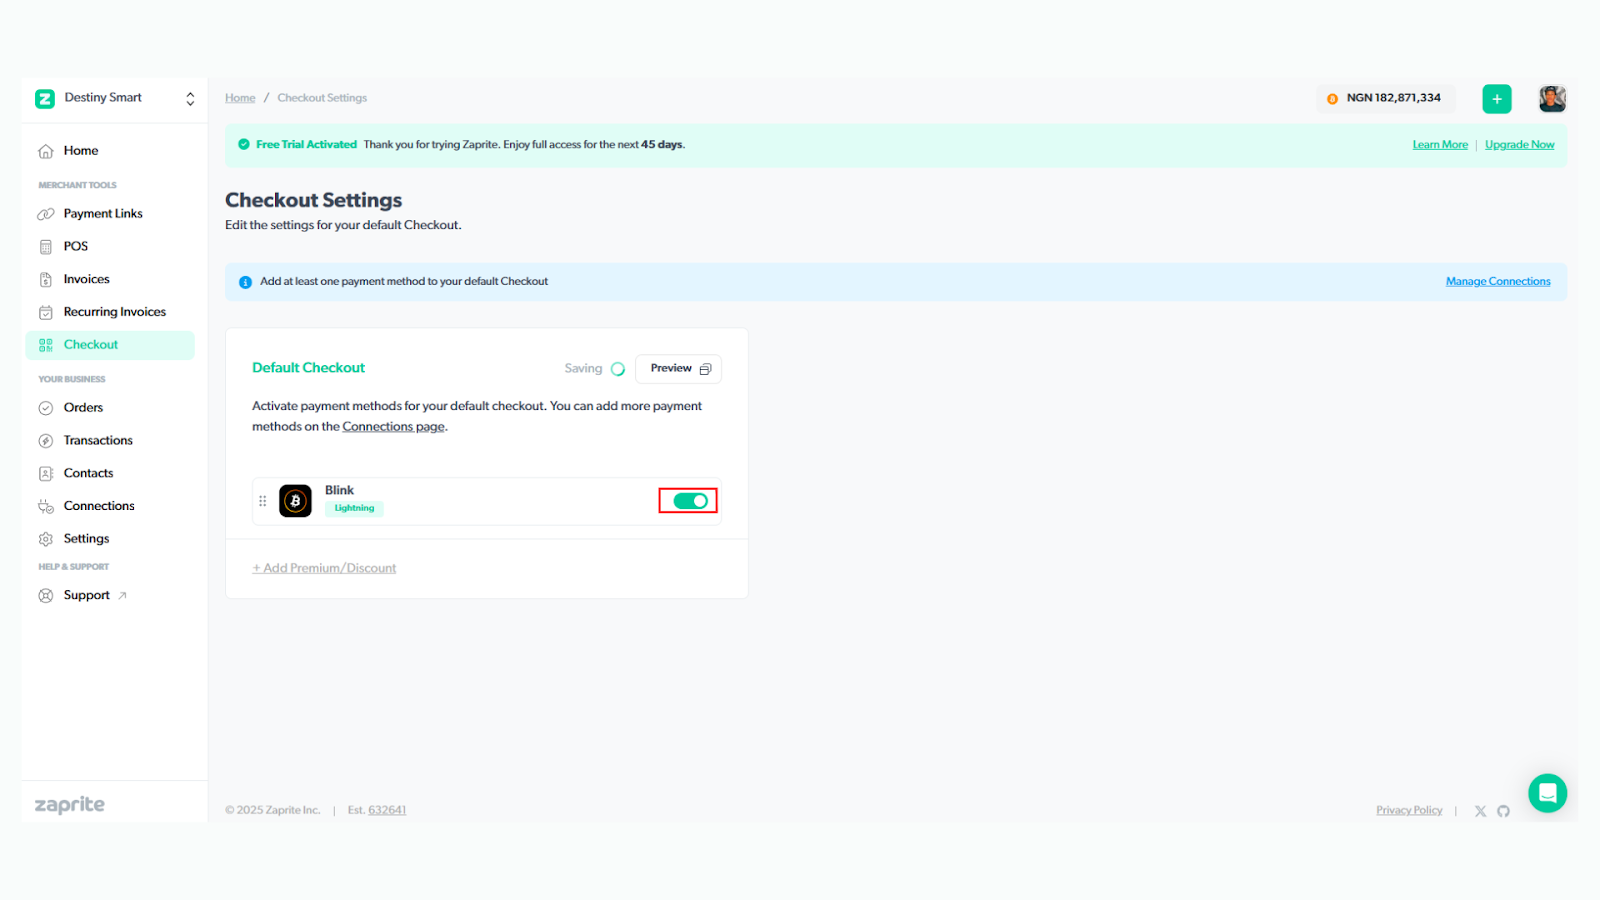
Step 3: Enable Blink Wallet on Checkouts
Click [Configure Checkout]: Once connected, you can enable Blink payments across Zaprite tools like Invoices, Payment Links, Event Tickets, POS, and API Orders.
Then, click the “Blink toggle” in the Checkout section to enable Lightning payments and receive funds directly in your Blink wallet.
You can also enable Blink in your default Checkout by turning on the same toggle in the default settings.
What Happens When a Customer Pays?
Once enabled, the payment process for your customers is incredibly smooth:
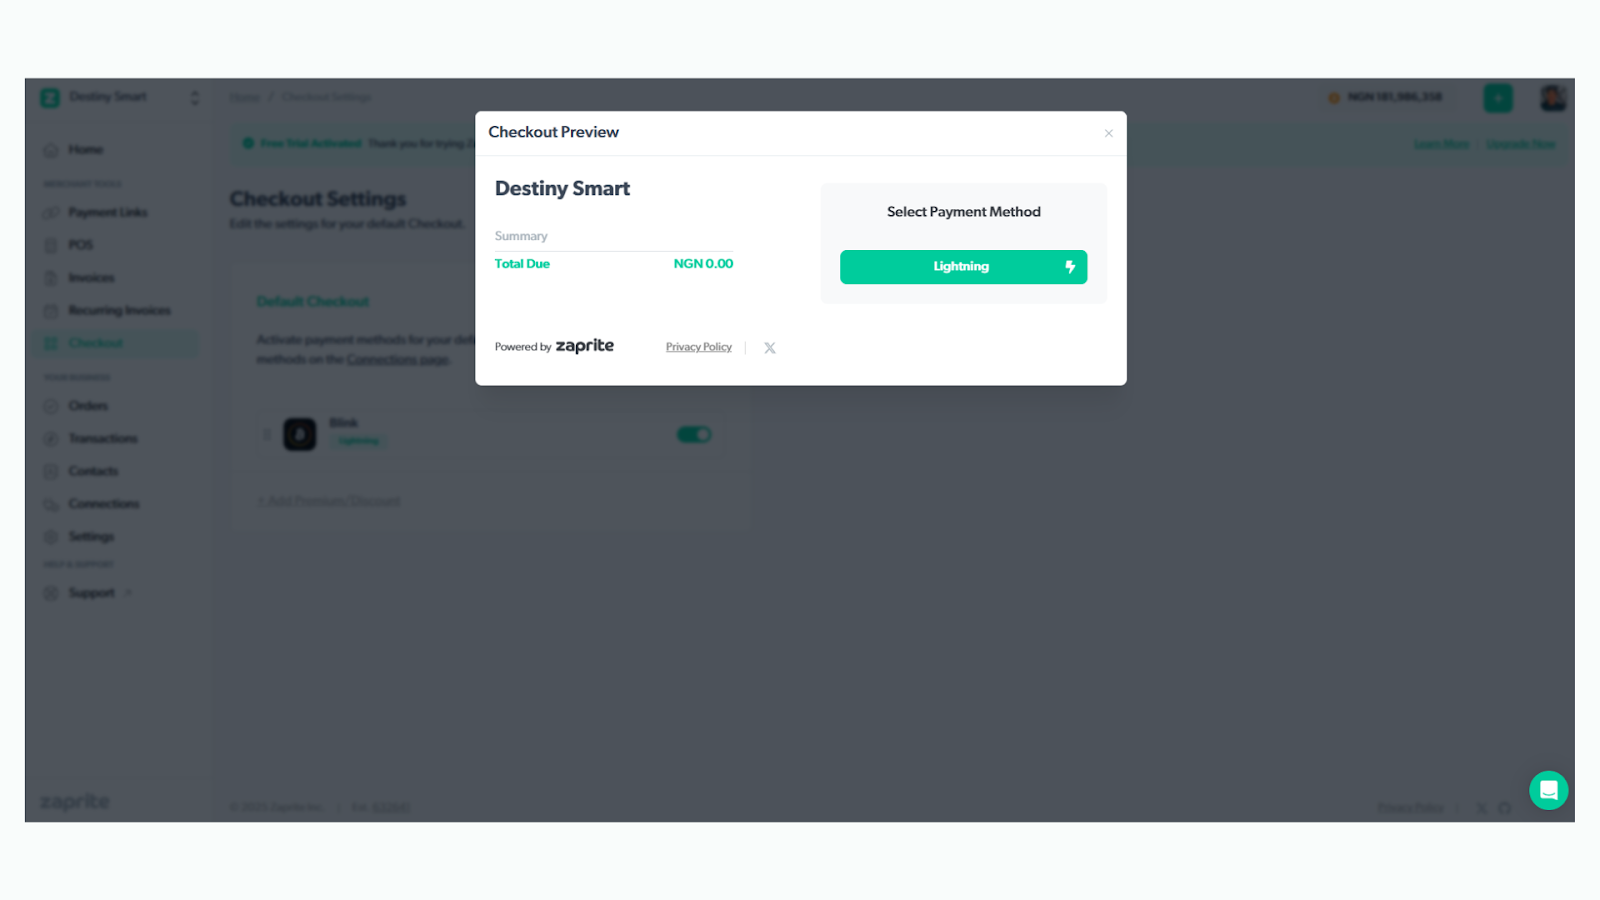
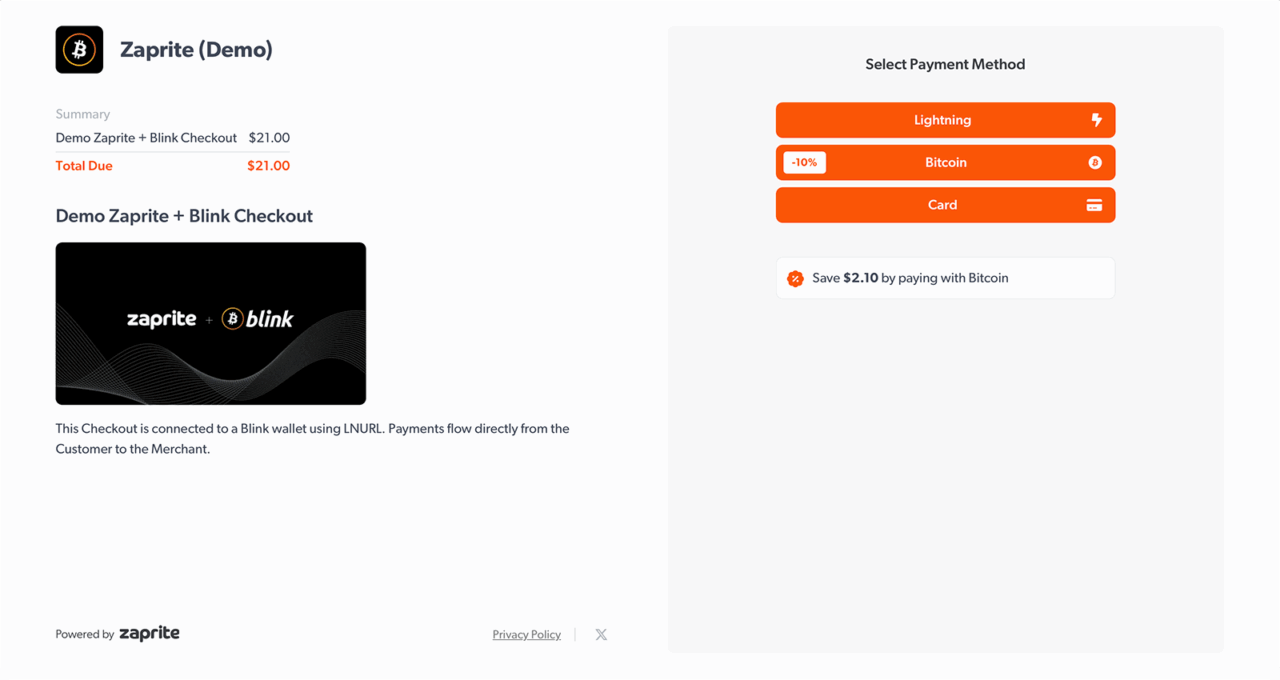
Your payer will see a Lightning option displayed on your hosted Zaprite Checkout page.
Zaprite will automatically generate a QR code using your Blink Lightning Address for convenient payment.
When the Order is successfully paid, you will receive an email notification detailing the payment.
The payer will also be provided with an option to download a PDF receipt.
For your records, payments are recorded in your Zaprite Transactions history for future accounting and reconciliation.
Naturally, you will also see the original Transaction reflected in your Blink Transaction History tab.
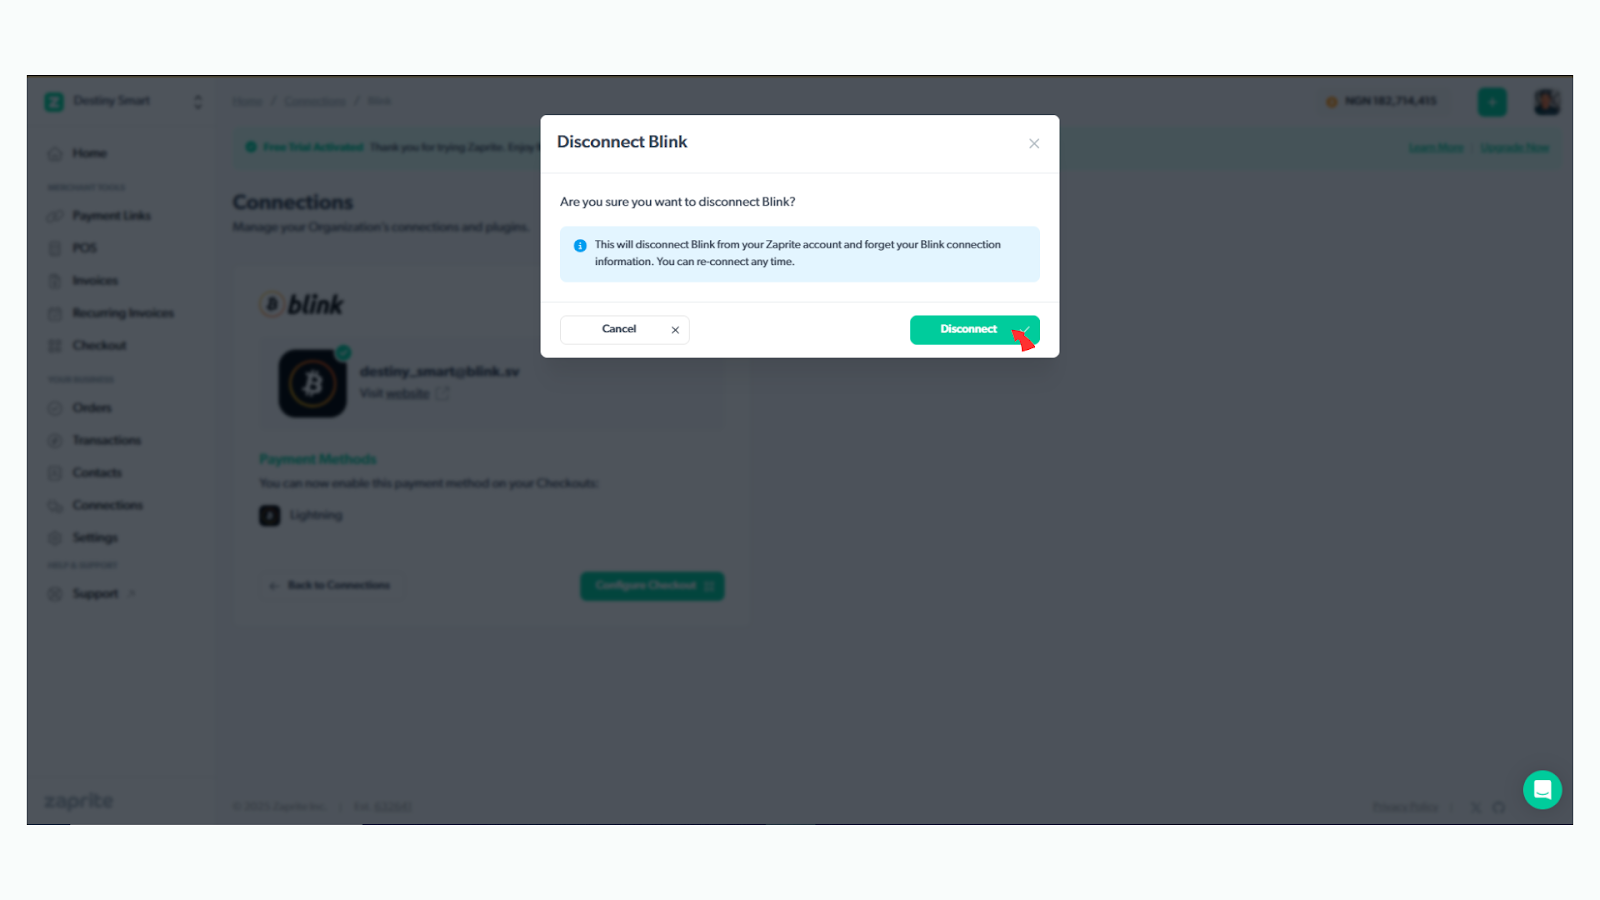
Managing Your Connection
If you ever need to disconnect your Blink wallet from Zaprite at any time, the process is straightforward. You can simply click the Disconnect button, and your Blink Lightning Address information will be removed from Zaprite’s database. You have the flexibility to reconnect at your convenience.
In summary, enabling Blink Lightning payment options on your Zaprite Checkouts is a smooth and straightforward process. If you encounter any issues during setup or have questions about using Zaprite, don’t hesitate to contact their support team. For a quick walkthrough, check out their concise guide, "How to Connect to Blink Wallet."